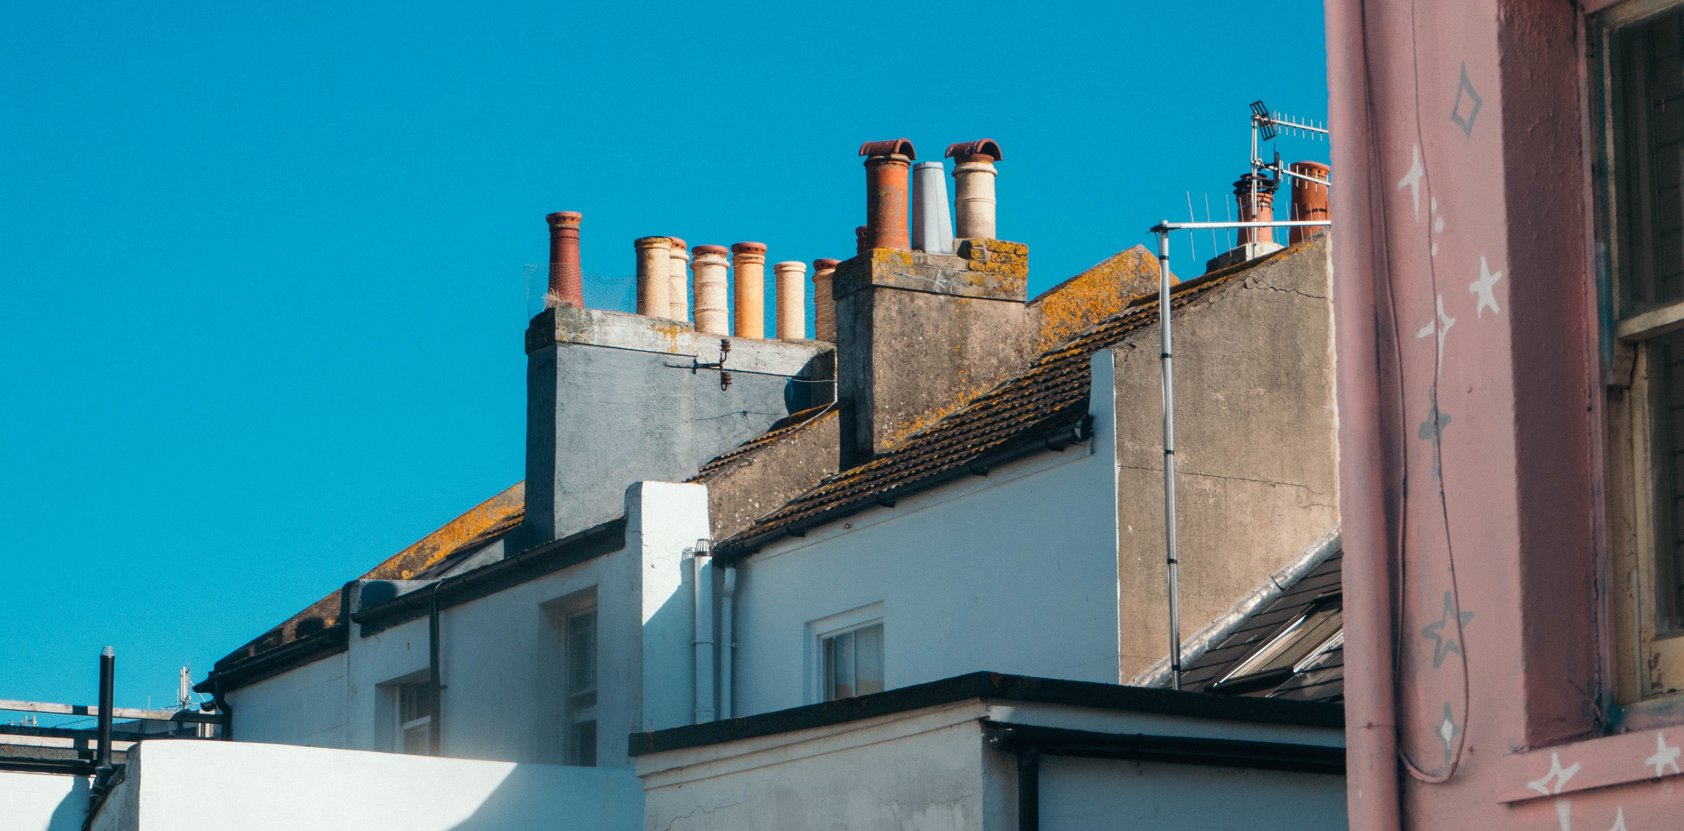
If you’ve got a log-burning fire in your home, you’ll need a chimney. Without one? There’s no way to safely vent ash and gas out of your home. Focusing on steel and masonry-built chimneys, we’ll look at how to construct one safely in your home – and what to consider before going ahead with your project.
1. Get planning permission
The UK Planning Portal says that ‘fitting, altering or replacing an external flue, chimney or soil and vent pipe is normally considered to be permitted development’, so your project should be possible without planning permission. Having said that, there are stipulations around height, elevation and other factors – and people who live in a flat, maisonette or converted home should seek planning advice.
While on the subject, it’s a wise idea to contact your local council about smoke control areas. These restrict how much smoke you can release from a chimney, and the fuels you’re allowed to burn. If you break the rules, you can face a fine.
2. Choose your material
Brick (or masonry) is the typical material of choice for a chimney. But, this doesn’t mean you can’t try something else, like steel – especially if you favour a more modern aesthetic. This type of chimney is made-to-measure, taking the guesswork out of building, but, you’ll need to carefully measure the exact dimensions first.
3. One chimney, or more?
You might be looking to add a chimney for an appliance in your kitchen, bedroom or living room. Or, you might want to add appliances to multiple rooms. Those that burn the same type of material can be linked to the same chimney, so if you have a gas fire in your lounge and a range cooker in the kitchen, these can be combined into one flue. If you’ve got different appliances – a wood-burner in the living room and a range in the kitchen – you’ll have to have separate flues.
4. Consider the inner flue
Whatever you’re building your chimney out of, you need to decide on a material for the lining. Most brick-built chimneys use clay or ceramic tiles, but you can also use a stainless steel pipe or even concrete. Again, talking to your council here is a good idea.
5. Collect your materials
You’re now well underway with your project, having planned your materials, checked local restrictions and decided on where you’re fitting an appliance. With all that out of the way, collect your building materials.
- Metal chimneys need flashing, a prefab chimney box and sections, a chimney cap and chimney roof braces.
- Masonry chimneys require bricks, mortar, flashing, cap and support pieces.
In either case, you’ll need a range of tools, so be sure to do your research!
6. Build your chimney
You can now begin putting it all together. Start from the ground-up, building your chimney off the top of the fireplace. With a metal fireplace, there’s not much to do here as it will be pre-fabricated. But for a masonry chimney, you’ll build brick by brick, levelling and lining up as you go. Whatever you choose, build on a solid base, like reinforced concrete, for strength.
7. Build your flue
This is the part that comes through your roof. If you’re using clay or ceramic tiles, these can be laid as you lay your bricks. Metal liners can simply be added at the end of construction. And concrete will need to be cast. This can get a little complicated, so talk to a specialist here.
8. Seal with flashing
Flashing is a skirt of vinyl or metal (steel, copper, aluminium) that goes around your chimney where it exits the roof, and underneath the chimney cap (which you’ll add in the next step). You can buy this on a roll from merchants, like Jewson and Screwfix, then cut to size. Then, add silicone or PU caulk to make it watertight.
9. Cap it off
The cap is like a ‘lid’ that protects your chimney from animals, debris and water, while allowing ventilation. Stone or concrete are your best bet – you can pick one up easily online. You’ll have to measure your flue and get a cap sized to fit. This can then either be inserted, or slid over your flue. Leave a 6-inch gap to make sure fumes can escape safely!
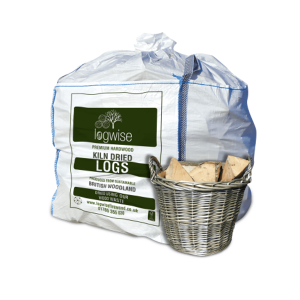
10. Stock up on fuel
You’re now ready to enjoy your chimney – bravo! Take a look at our website to see what kinds of fuel we can offer, or chat to our dedicated team for help and advice on all things fireplaces.

 From £5.00 Select options This product has multiple variants. The options may be chosen on the product page